Questions?
You can get support during office hours. Ask your question in the chatbot in the right bottom corner.
You can get support during office hours. Ask your question in the chatbot in the right bottom corner.
STEP 1: Set up your company in Bizzcoo (CO/CM)
STEP 2: Customise to match your company (CO)
STEP 3: Customise Bizz Profile (CO)
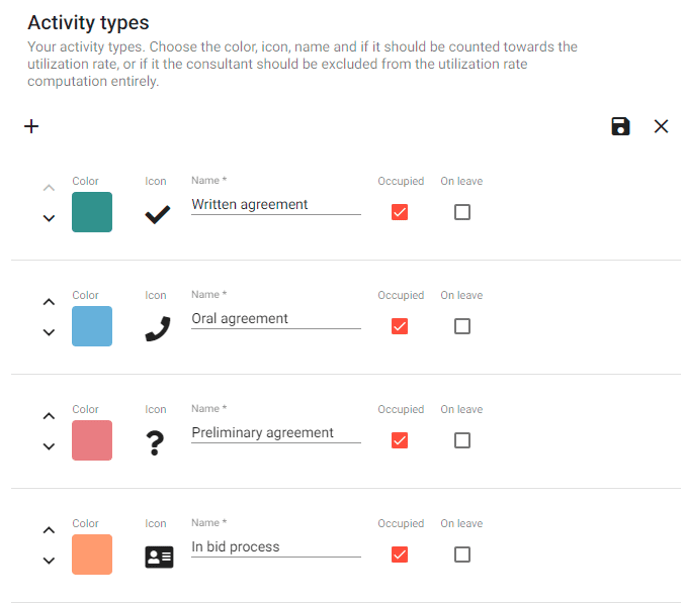
STEP 4: Customise Bizz Planner (CO)
STEP 5: Customise Bizz Subcontractor (CO)
STEP 6: Invite your company (CO/CM)
STEP 6a: Add employees (CO/CM)

STEP 6b: Update licenses (CO/CM)
STEP 1: Invite your team
STEP 1a: Add employees
STEP 1b: Add licenses
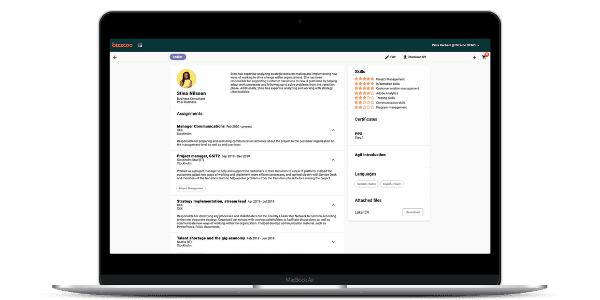
STEP 2: Update your profile
STEP 3 (Optional): Clone your profile to create different versions or "Roles" of your CV